The Engraving Process
You may be wondering, "How does this work?" You may have even seen a 3D crystal at a mall kiosk, or at a gift shop, or somewhere else in your travels and been left in awe at the technology that is involved in engraving an image into the center of a crystal, leaving no impact on the surface. And you probably want to know how a 2D image can be engraved in 3D on a crystal. Well, you've come to the right place.
Converting Your Photo to 3D.
It's not magic, but it may seem like it is! There's no quick piece of software or app that does this to the level of perfection that we have. Our skilled 3D designers use the same 3D modeling software that the movie pros use to make stunning CGI in our favorite Hollywood blockbusters.
But this time they're doing it to your photo. First, our designers remove the background from your image and focus solely on the subject (and any necessary objects, for example, a sofa that the subject may be sitting on). Then - and forgive us for getting a little technical for a moment - our designers are able to place the 2D photo on a plane (not one in the sky, a 3D plane in a virtual environment). They then "pull forward" (or extrude) certain features that they believe would be distances in real life. A dog's snout, a human's nose - all of these features that require a human's touch to judge what the distance would be in 3D. There's a reason there isn't a program or an app that can do this automatically.
It's not magic, though. We can't recreate part of an image that doesn't exist, so in a face photo, the back of the subject's head isn't added. Instead, you'll be able to see it from the front and sides, and the back of the crystal will appear "mirrored" from the front, which is a very neat illusion!
Making a "Point Cloud" With Your Photo.
Once our 3D designers are done converting your photo (a process which takes around 24 hours), we then convert that photo to what's called a "point cloud," a big set of dots that our high tech laser machines use to recreate the image inside of the crystal. Brighter colors cluster the dots closer together, and darker colors spread out the dots further apart.
We then add your desired text in your font onto the file to prepare for engraving.
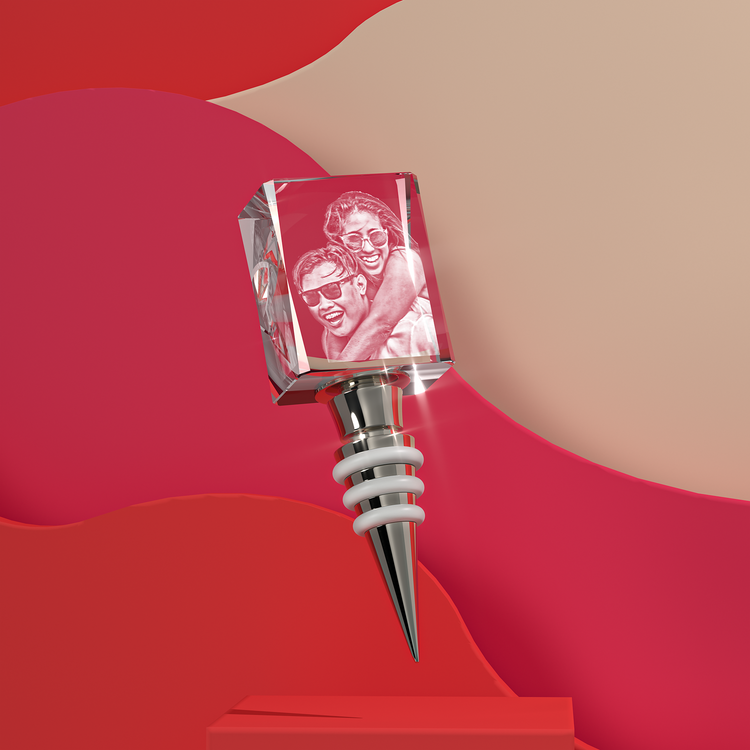
Engraving The Final Crystal.
Once all of the work is done preparing your engraving design, we are ready to go to the engraving process. Your crystal shape and size is picked from our warehouse, cleaned meticulously, and then placed into one of our magic subsurface laser engraving machines. The machine is able to then read the file we created and know the exact position it should place the dots inside the crystal using precise calibration.
How is it able to make the dots? The laser light itself is of a specific wavelength, and the machine has a moving tray holding your crystal. The laser emits just enough power to create a tiny "microfracture" in the crystal at the exact location represented in the file. This creates the white color you see in the crystal. Some of our larger crystals may have over 2 million dots engraved into them! The total time for this process can be anywhere from 5 minutes to 30 minutes, depending on the size of the crystal.
Once the engraving is finalized, we give it a final check for quality, then pack it securely and ship it to its final destination!
Continue Shopping